
UPDATE: School Library Journal asked me to create an instructional craft video, so you can now find video instructions here:

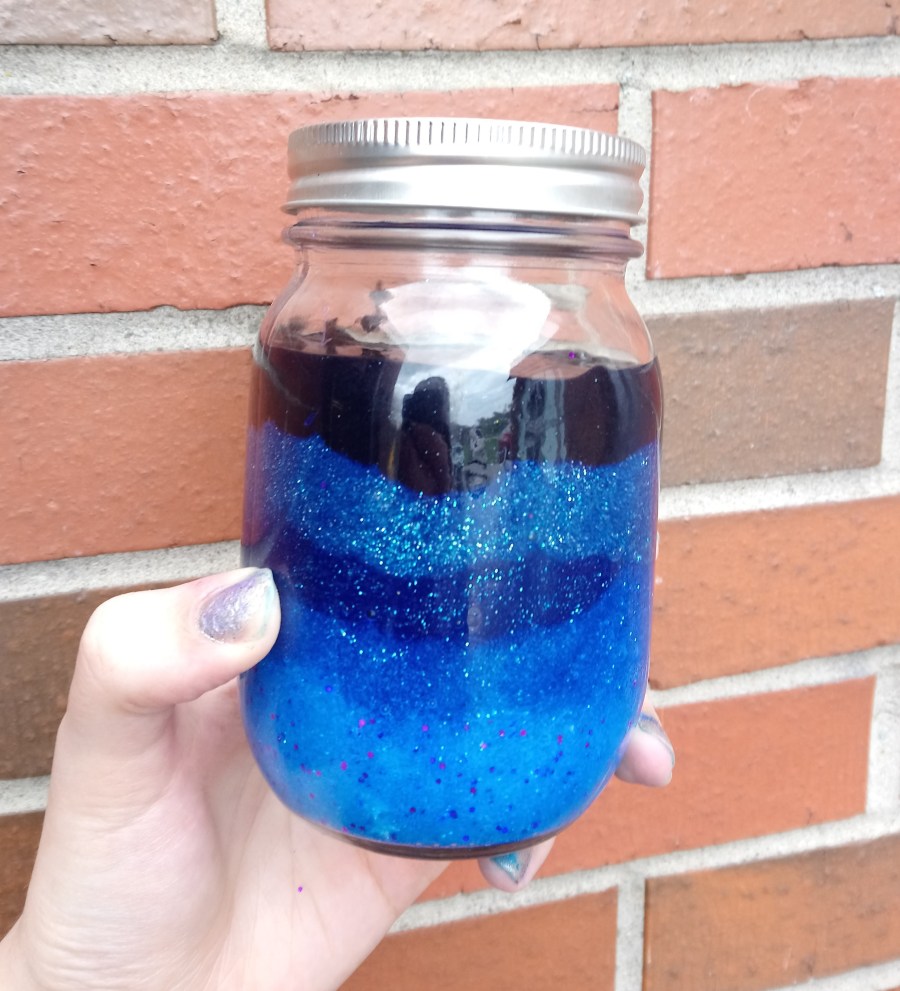
Slime + glitter + ombre + mason jars? Let’s just add all the trendiest things together and see what happens! The slime trend is still as strong as ever at my library, but I imagine in a few months basic goopy slime might start to loose its appeal. That’s why I started making layered ombre slime jars! I use these for prizes at kid’s programs and they are BY FAR the most exciting prize (even when compared to Pop Figures and 3D printed jewellery!)
I love these things because they look gorgeous, and there really is an artistic element to creating them. Here is my tutorial for Layered Slime Jars, using my favourite 2 ingredient slime recipe:
Materials:
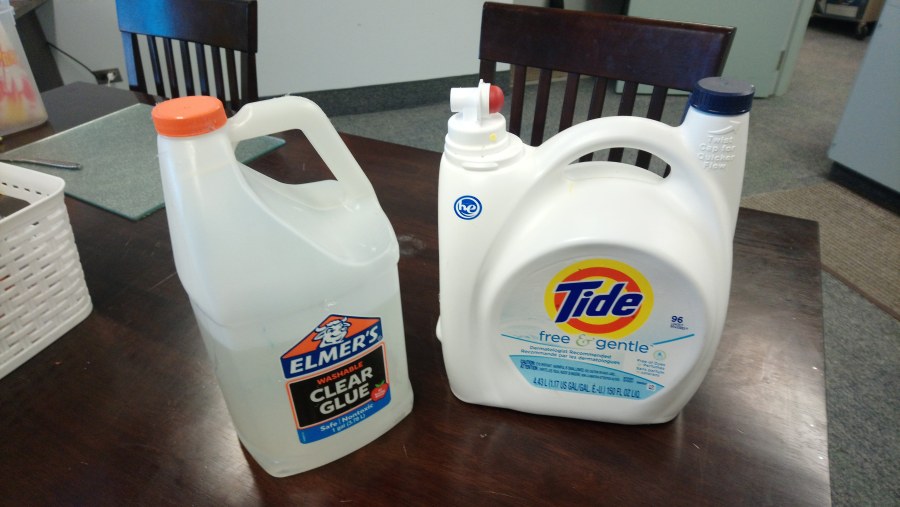
- Clear glue
- Tide Detergent (I like the fragrance free, clear stuff, but regular Tide works too)
- Glitter
- Food Colouring
- A mason jar
Fill your jar with two parts clear glue, and one part Tide detergent. Pour contents into a large bowl and mix with a spoon.
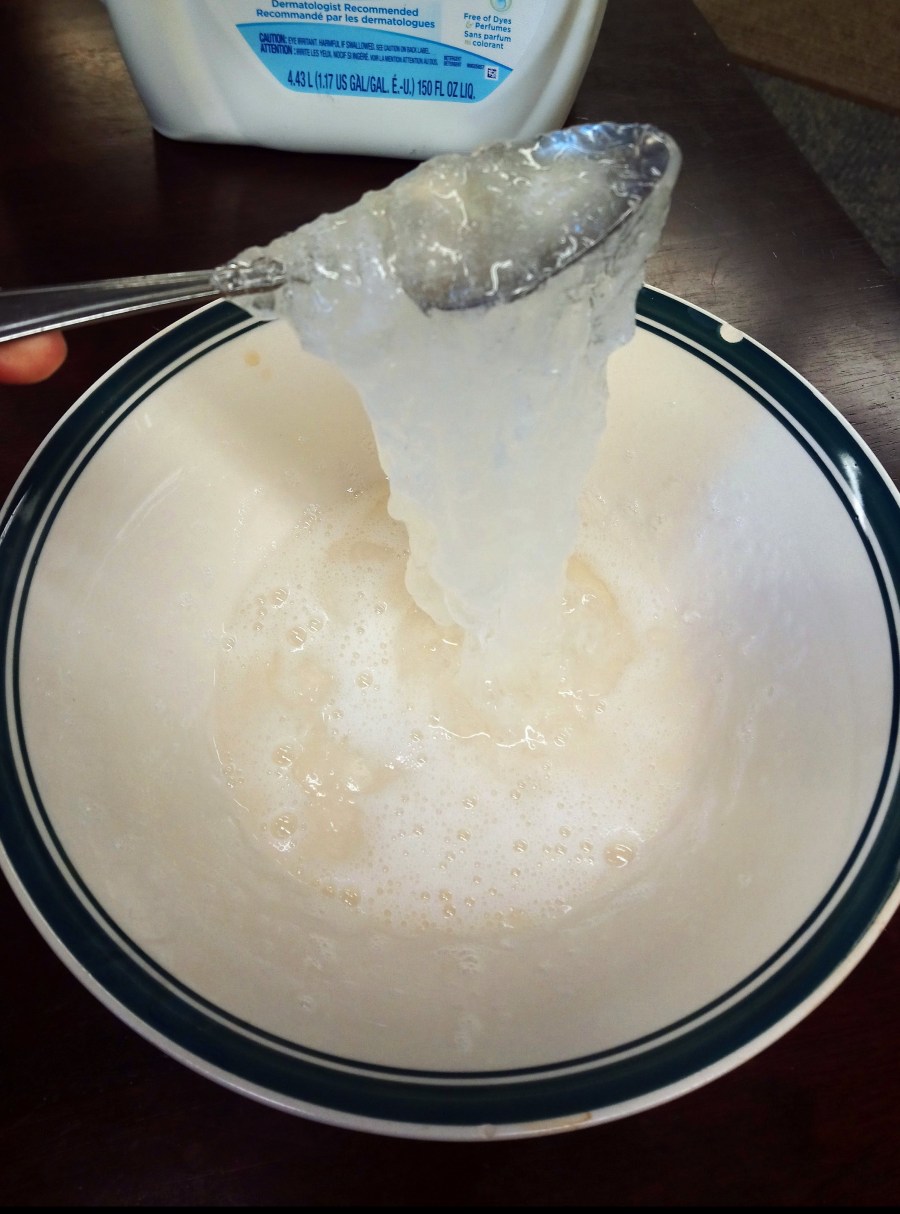
At first, the mixture will come together in tough globs. Keep mixing until most of the liquid had solidified, then start to kneed with your hands. The chemical reaction occurring in the slime needs motion and heat to come together well. The heat from your hands will help create a consistent texture.


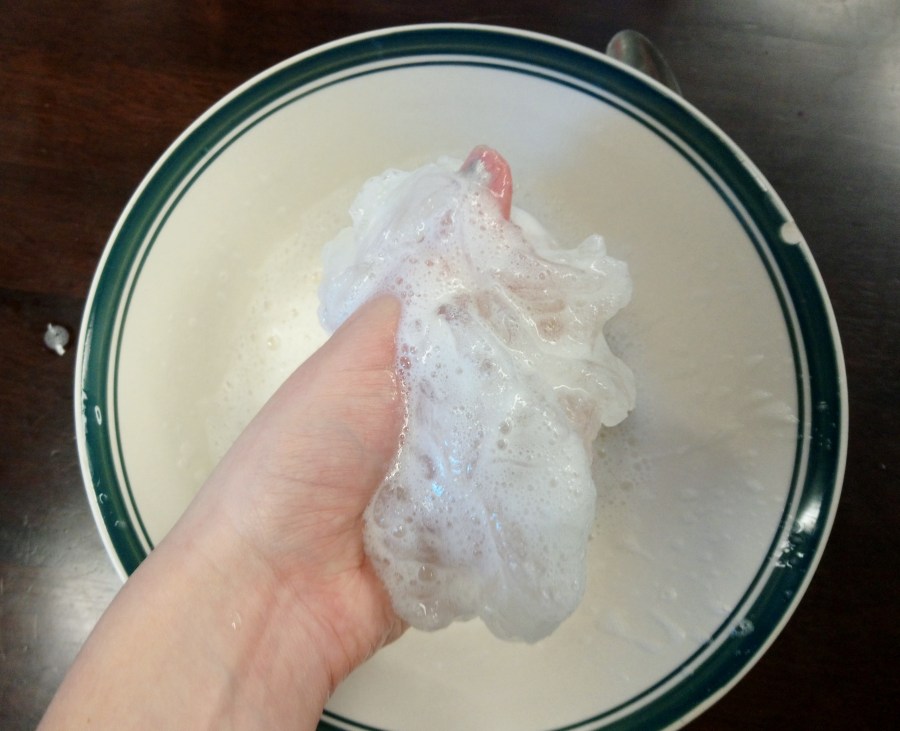
After 2 – 3 minutes of kneading, your slime may still be stringy and/or globy, and you may have lots of tiny soap bubbles in your slime. Thankfully there is a solution that works so well it seems like magic! All you need to do is “wash” your slime under very warm water. Kneed the slime under the stream of water until it reaches a consistency you like. This could take anywhere between 10 seconds and 2 minutes.


CONSISTENCY TIPS: If your slime is sticking to your hands, add a small amount of detergent. If the slime is too thick or putty-like, add more glue. Ideally, you want the slime to slowly “melt” and drip through your fingers after a few seconds of holding it. This recipe may appear translucent and white at first due to all the bubbles inside the slime. Not to worry! After it settles the bubbles will rise to the top and pop.
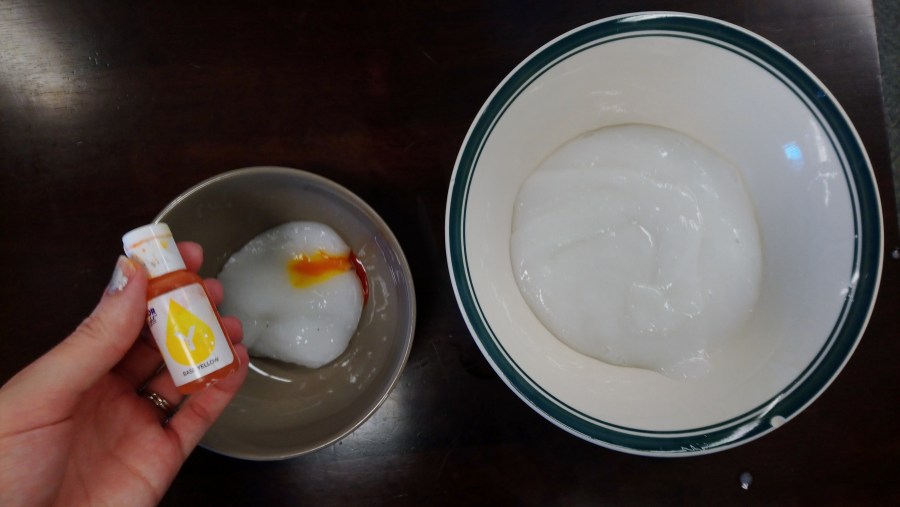
Once you reach the consistency you’d like, separate one fifth of the slime. Add it to a small bowl, and add 3 – 7 drops of food colouring, and a generous amount of glitter/sequins. Mix well.
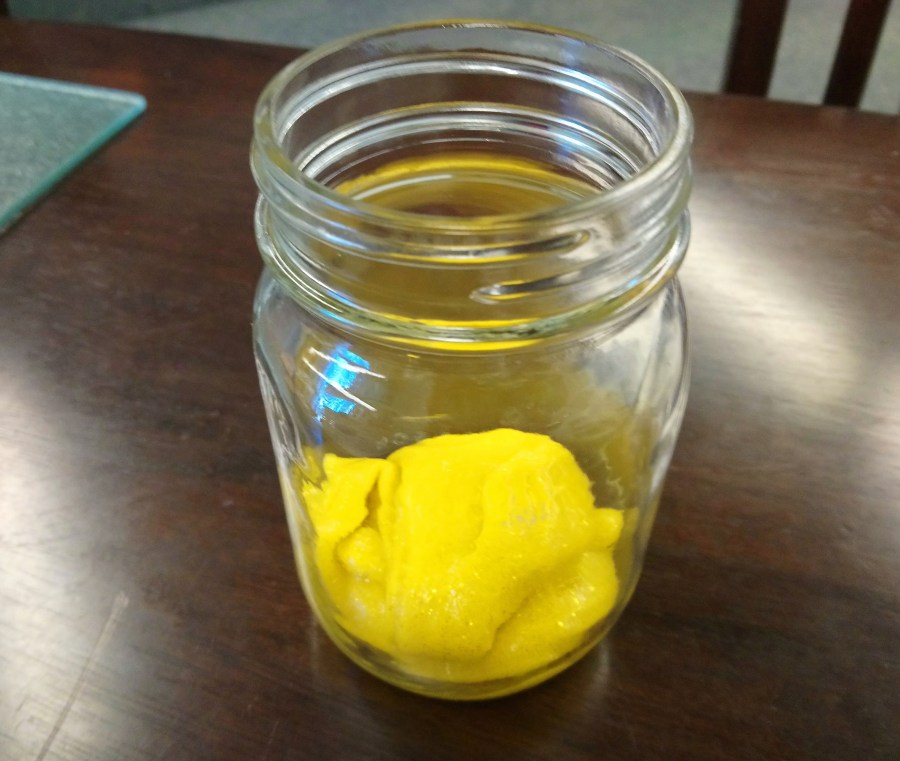
Add the first part of decorated slime to the bottom of your jar. At first it will hold it’s shape, but after a 30 seconds it should even out and fill the bottom. If your slime does not “melt” to fill the bottom, the temperature of the room may be too cold for the slime. Try moving to a warmer place or wrapping the jar in a towel.


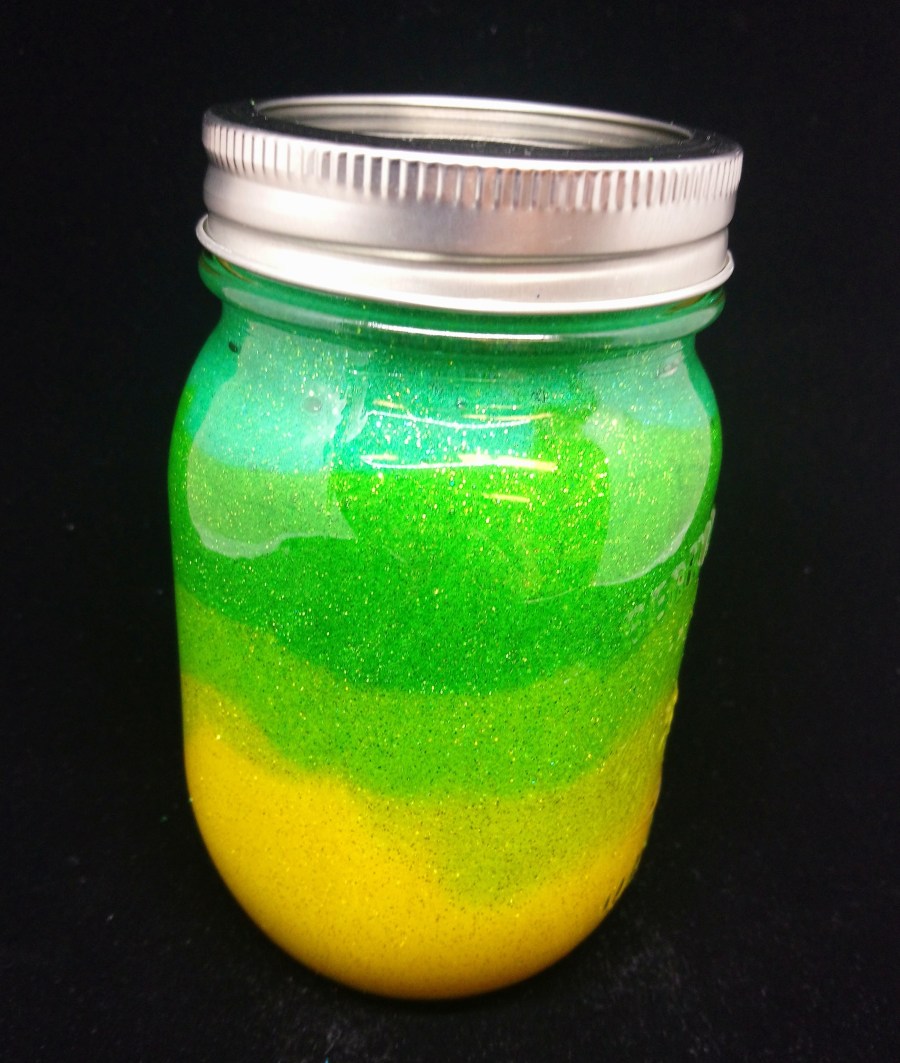
Repeat for the remaining 5 parts, darkening the colour each time, until your jar is full! I also like to start with one colour at the bottom (like yellow), and add more and more of another colour (blue) each layer until the top. The gradient effect is beautiful, but here are some other ideas:
- Galaxy: uneven layers of black and dark purple/blue with star sequins and silver glitter
- Tie Dye: uneven layers of clear slime with small bright patches of colours The colours will blend together after sitting in the jar for a while, which adds a neat artistic effect.
- Under the Sea: Make the bottom layer yellow-orange. Layer 3-4 different shades of blue on top and swirl together gently with a chop-stick. Add plastic fish in the middle for a fun surprise.
- Rainbow: Do 7 layers in the order of the rainbow: red, orange, yellow, green, blue, indigo, violet.
Other things you could add to your slime to make it special:
- fragrance oils
- foam balls
- plastic figurines of animals
- use the same colour of glitter in every layer to give the jar a cohesive look, and makes it even more impressive
Of course after taking the slime out of the jar and playing with it for a while, the colours will mix together. It’s a good idea to pick colours that will mix well, rather than turning brown.
As I said, I love using these as prizes for kids parties. I think they would make amazing gifts, or you could even try to lead a workshop as a program.
What do you think?! Let me know in the comments how you will use your Layered Slime Jars.

[…] Homemade Layered Slime Jars with Ombre Effect […]
I need to plan a slime event for grade 6-ish. Do you have suggestions on how to make slime interesting for this age? Are you still finding success with slime and Tweens? Thanks! -Dawn
Hi Dawn, this is a great question. Many grade 6 kids might start to feel that slime is “over,” or that they’ve seen it all. To keep it interesting, try to elevate the slime activity. Doing something that combines art with slime one a way to bring it to the next level (for example, the ombre slime jar or galaxy slime jar.) I’m working on a Space Slime program right now that incorporates learning about different galaxies and recreating their colours in slime. I will post my resources when I’m done!
[…] Homemade Layered Slime Jars with Ombre Effect […]