

A sewing program might seem a little traditional for a library, but let me assure you: that’s part of its charm! I was surprised when the kids in an afterschool program kept requesting needles, thread, and fabric. To make what? Anything! Pouches for knick knacks, pencil cases, and the most exciting of them all: stuffies.
So I thought, what is an easy shape to cut/sew and a popular image for kids? Donuts were the obvious answer. I ran the idea by a couple dozen kids and the response was overwhelmingly enthusiastic.

Instructions
You will need:
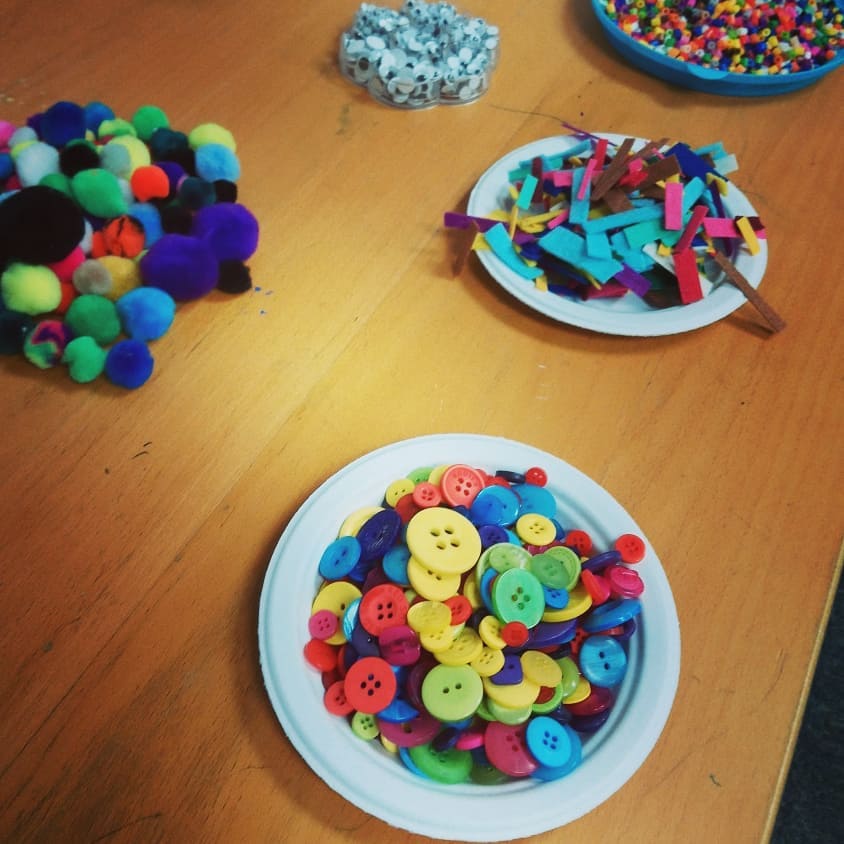
- Felt
- Glue guns
- Pom poms
- Googly eyes
- Seed beads
- Buttons
- Glitter / glitter glue
- Stuffing (polyester, or a more eco-friendly option)
- Self threading needle and thread for each attendee
- Scissors for each attendee
- Pencils for everyone
- Premeasured cardstock templates of a ring
Step-by-Step:
- Have each child choose a colour for the base of their donut. Have everyone trace two template rings onto the fabric with pencils.
- Carefully cut the rings out.
- Place the two fabric rings on top of each other. Hand sew the outside of the ring, leaving a 2 inch opening.
- Using the opening, turn the fabric inside out. This way your stitches will be hidden.
- Carefully stitch the inside of the ring closed.
- Alternatively, you can use the glue gun to glue the edges closed, as this portion of sewing is more challenging.
- Using the small opening you have left, stuff the fabric full of stuffing.
- Once it is full, hand sew the opening closed, using small, tight stitches.
- Now that the base of the donut is finished, it’s time to decorate!
- Cut out an icing blob using a different colour of fabric, and hot glue it onto the base
- Cut out sprinkles, or glue on beads, buttons, or pom poms.
- Glue on googly eyes to give your donut a face!
- Use glitter glue to create glitter icing
Reflections
This is a difficult program to run because of the nature of sewing. It is a challenging fine motor skill that some of your attendees might not have experience with. Plus, the donuts are fairly small, making it even more difficult. How can you run the program anyway?
A couple tips:
- Run this program for older kids or teens (ages 9+).
- Limit the registration to around 5 – 10 kids.
- Bring in volunteer sewing helpers if you can.
- Give them lots of time – 1.5 hours worked for me.
- Have a glue gun ready to solve sewing emergencies.
This goes without saying, but make sure that you are comfortable teaching the basics of sewing. Have a short portion at the beginning of your event to teach and demonstrate hand sewing. Here are some resources that could help:
- How to Hand Sew Video
- Phoebe and Egg: Teaching a Child to Sew
- Tips for Teaching Your Young Child to Sew
- The Basic Sewing Skills Everyone Should Know
This program is for the brave at heart! Not only does it have a potential for meltdowns, it has the potential for mess. But the skills and experience are so valuable, and the final product is adorable. Will you give this program a try?
