

I am always experimenting with new workshops at the library. I love learning a now DIY project and passing it on to the kids and teen in my community – and they love it too! Lip Balm workshops are easy and effective. The coolest part is the customization, so make sure you have lots of flavouring options and colours to choose from.
Ingredients
1 part coconut oil
1 part beeswax pellets
1 part coco, mango, or shea butter (optional)
2 drops of food colouring per tube
2 – 4 drops of flavouring per tube
A sprinkle of luster dust or mica powder for shimmer (optional)
Materials
One large glass bowl
One very large glass bowl filled halfway with hot water
One small cup for each participant
One spoon or stir stick for each participant
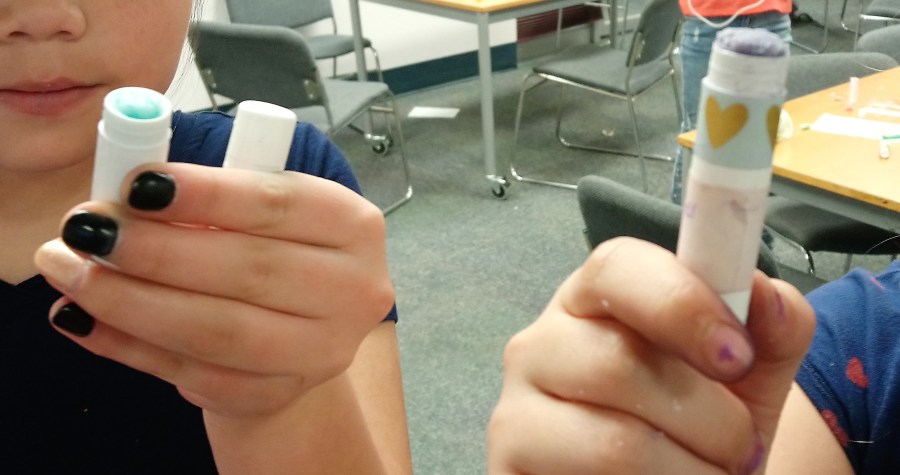
One or two lip balm containers for each participant
Ladle
Funnels (optional)
Container decorations (labels, rhinestones, stickers, washi tape, etc)
Instruction sheets for everyone
- In a large glass bowl, microwave the coconut oil, beeswax, and optional coco butter until completely melted. Stir together.
- Place the large glass bowl into a larger bowl with hot water to replicate a double boiler. The hot water should maintain the temperature of the ingredients for long enough to complete the workshop.
- Meanwhile, each participant can choose a colour and a flavour and put two drops of each into their small cup.
- Use the ladle to add about 2 tablespoons of the melted mixture to each person’s cup
- Instruct the participants to mix the ingredients together as quickly as possible. If the mixture cools it will be difficult to add into the container. They have about 1 minute of stirring time.
- Once the colour is mixed in, they can carefully pour the mixture into their lip balm containers. Funnels are recommended if doing this workshop with children.
- After 30 minutes, their lip balm should be hardened and ready to use!
I highly recommend having a decoration table for kids to use after they have put the ingredients into the tube. Simple white paper sticker labels and markers were a hit – everyone could come up with a name for their lip balm.
 This is a very easy workshop to lead, but it’s super exciting for the participants. Just be aware that it is probably going to go a lot quicker than you think – especially if you are preheating the ingredients before the participants arrive. I did this workshop with tweens, but it would be great for teens or adults as well!
Have you done a lip balm session at the library before? Share your questions, tips, and tricks below!

Where did you get your beeswax pellets? I’m planning a similar program but I’m finding the beeswax very expensive.
[…] DIY Lip Balm: Program Outline […]
I am trying to set up a similar workshop, how was your set up? Did they mix their ingredients and take it back to their table to pour or?
You could do it either way. I mixed the ingredients in a big bowl in front of them, and then distributed it in small cups. They added colour and flavours, then poured the mixture into the tubes.