
Sparkly, twirly, precious fun! A tutu workshop is a valuable addition to your library’s program calendar. Not only is it easy to teach, but the attendees leave with a legitimately beautiful product (that would have cost $30 – $50 to buy from the store)! I always try to be intentional about planning programs where the take away item is a quality piece that isn’t going to end up in the garbage after one week. Good for the families, good for the environment, great for the library!
I opened this workshop up to a wide range of ages: 2 – 13. Children under 6 had to have a parent with them. In the end, the program was full of parents and their 3 – 5 year old kids. With the left over tulle, we did an informal tutu making activity with our afterschool crowd, mainly grade 4 – 6 girls. This program would also work well as a tween program or an adult program (where parents can chat while making tutus for their toddlers).
Materials
- Ribbons
- 6″ wide tulle spools pre-cut into ~70cm pieces
That’s it!

Tips
- Pre-cut at least 50 pieces for each attendee. Depending on the size of the child, they could need 30 – 100 pieces for one tutu.
- Have lots of colours! The more choice, the better! This craft is extremely easy and a bit tedious. Adding in a lot of colour options helps keep things interesting.
- Encourage participants to think about the order of the colours – do they want to do a pattern? Do they want to try a random dispersing of colours? Just a splash of purple?
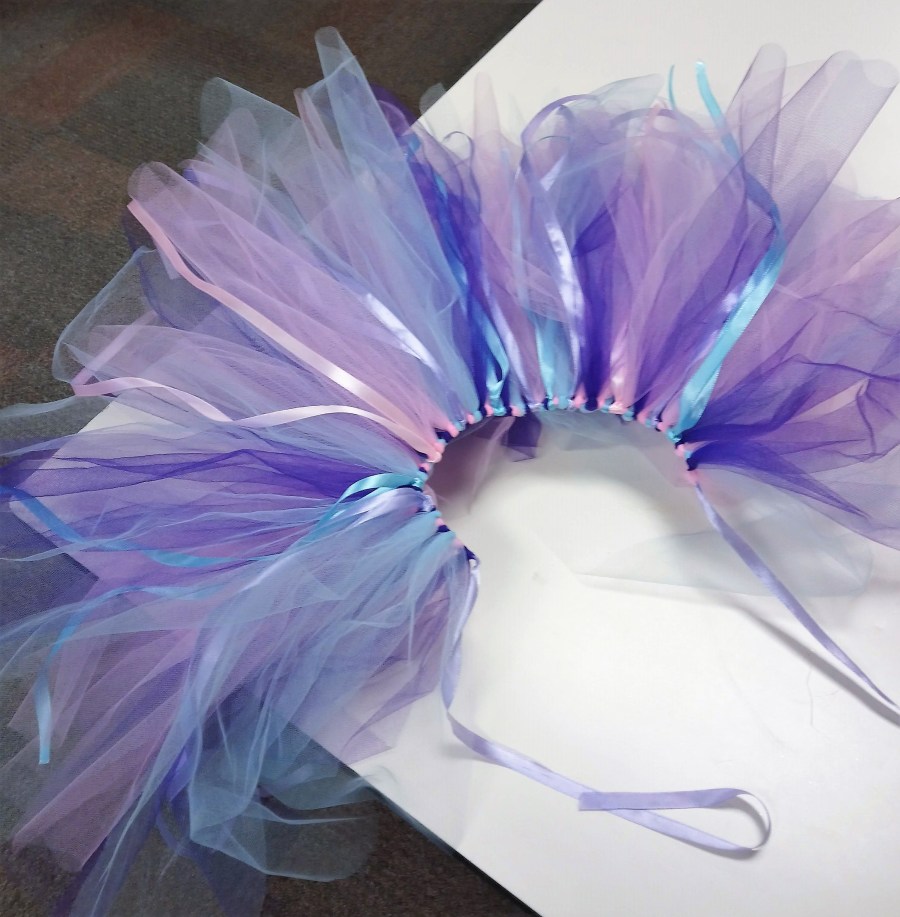
- You can add a little extra pizzazz to a tutu by tying on ribbons.
- Play music! A cute little Disney Favourites soundtrack is a good choice.
- When children 5 and under were there with parents, I encouraged the parents to do the majority of the tying, and have the kids pick out the colours and lay them out in a pattern.
How to Make the Tutu
- Let everyone choose a colour of ribbon.
- Measure and cut the ribbon to be twice as long as needed to go around the child’s waist.
- Tape each end of the ribbon down to the table.
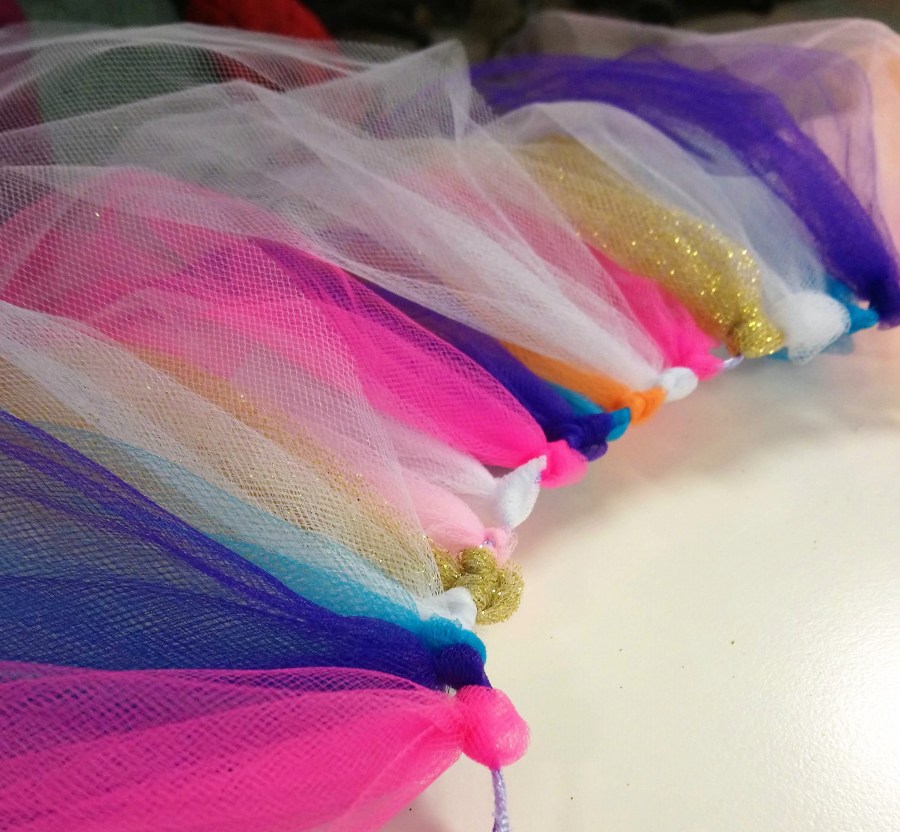
- Show everyone how to attach one piece of tulle to the ribbon:
- Fold the tulle strip in half.
- Slide the top loop part of the tulle underneath the ribbon.
- Pull the two end pieces of the tulle over top of the ribbon, and through the top loop.
- Pull tight to secure.
- Repeat until the skirt is fluffy and full!
- Tutu will be attached by tying a bow.
See this post from DIY Network for a photo guide to attaching the tulle.

This program was SUCH a hit. All of the girls were so excited to try on their new tutus, and they all instantly started spinning around and giggling. It’s a feel good program to the max.
What craft workshops do you lead for kids where everyone leaves with a good quality, valuable product?

LOVE THIS! 🙂
THANK YOU SO MUCH!!!
YOU ARE SO WELCOME!!
About 10 years ago I did a sock horse craft. Mine is still on my desk, and I still receive compliments about it. Actually I think it’s time to it again! I also wanted to thank you for sharing your amazing ideas, I can’t wait to try a few of them.